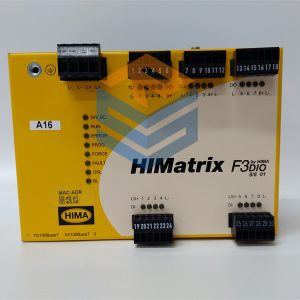
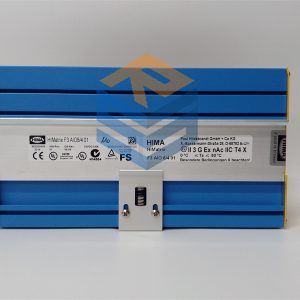
Description
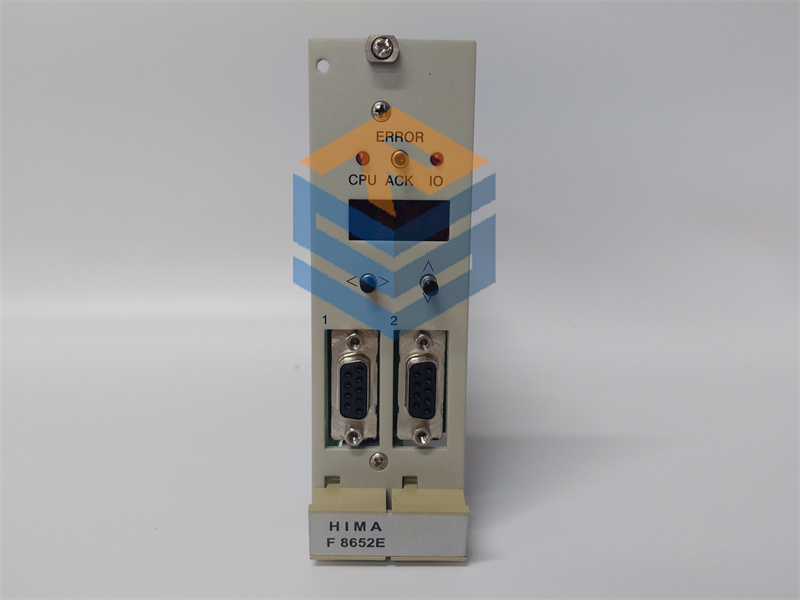
Microprocessors INTEL 386EX, 32 bits
Clock frequency 25 MHz
Memory per microprocessor
Operating System Flash-EPROM 1 MB
User program Flash-EPROM 1 MB *
Data SRAM 1 MB *
* Degree of utilization depending on operating system version
Interfaces Two serial interfaces RS 485 with electric isolation
Diagnostic display Four digit matrix display with selectable information
Shutdown on fault Safety-related watchdog with output 24 V,
loadable up to 500 mA, short-circuit proof
Construction Two European standard PCBs,
one PCB for the diagnostic display
Space requirement 8 SU
Operating data 5 V / 2 A
For the serial interface only the bus station no. 1-31 can be set.
Within an Ethernet network the bus station no. can be set from 1 to 99. Therefore the switches
S1-6/7 must be set in addition to the switches S1-1/2/3/4/5.
The number of the communication partners within a network is still limited to 64.
This enhanced setting of the bus station no. is only possible from operating system BS41q/51q
V7.0-8 (05.31) of the central module.
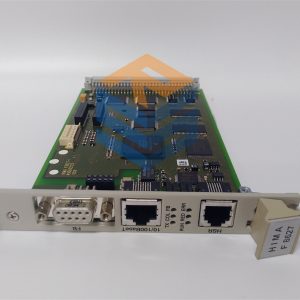
Applications with the communication module F 8627X:
– connection of the central module to a PADT (ELOP II TCP)
– connection to other communication partners within an Ethernet network (safeethernet,
Modbus TCP)
The communication runs from the central module via the backplane bus to the communication
module F 8627X and from the Ethernet ports of the F 8627X into the Ethernet network and vice
versa.
Special features of the central module:
– Self-education: from operating system BS41q/51q V7.0-8 (05.31)
– ELOP II TCP: from operating system BS41q/51q V7.0-8 (05.31)
Further informations about the bus station no., ELOP II TCP, loading of operating systems and
application programs (self-education) et al. corresponding to the central module you will find in
the data sheet of the F8627X as well as the operating system manual of H41q/H51q and the
safety manual of H41q/H51q.
Pin RS 485 Signal Meaning
1 – – not used
2 – RP 5 V, decoupled by diodes
3 A/A’ RxD/TxD-A Receive/Transmit Data A
4 – CNTR-A Control signal A
5 C/C’ DGND Data Ground
6 – VP 5 V, positive pole of power supply
7 – – not used
8 B/B’ RxD/TxD-B Receive/Transmit Data B
9 – CNTR-B Control signal B
Before removing a central module its fixing screws must be completely
loosened and freely movable. Remove the module from the bus board
by pushing the ejection lever (front label) top down and quickly removing in an upward motion to ensure that faulty signals are not triggered
within the system!
To attach the module, place it on the terminal block and press it
inwards as far as it will go. This action should be performed quickly to
ensure that faulty signals are not triggered within the system!
All prices listed on the official website are subject to confirmation by contact: Wu Jiedong (manager).
Our product: brand new original packaging
Our warranty: All new or repaired parts have a 12 month warranty period beginning
Our payment: 100% telegraphic transfer of inventory items before shipment, conditions can be proposed!
If you have any downtime spare parts that you cannot find, please feel free to call or use email to contact me. If there are issues that the product cannot solve, please contact me. Product prices can be negotiated. Please do not consider contacting me!

